In the world of photography, capturing stunning shots in low-light situations can be a challenge. However, with the right techniques and a few tricks up your sleeve, you can master low-light photography with any camera. Whether you're using a smartphone, point-and-shoot camera, or professional DSLR, these tips will help you take your low-light photography to the next level.
Use a tripod: One of the biggest challenges of low-light photography is camera shake. By using a tripod, you can stabilize your camera and take sharp, clear photos even in low-light conditions. If you don't have a tripod, look for stable surfaces like tables or walls to place your camera on.
Adjust your settings: In low-light situations, you'll need to adjust your camera's settings to allow more light in. Increase your ISO to a higher number to make your camera more sensitive to light. Open up your aperture to let in more light, and slow down your shutter speed to capture more light over a longer period of time.
Use a remote or self-timer: Even the slightest movement can cause blurriness in low-light photos. To avoid this, use a remote shutter release or your camera's self-timer to take the shot without touching the camera.
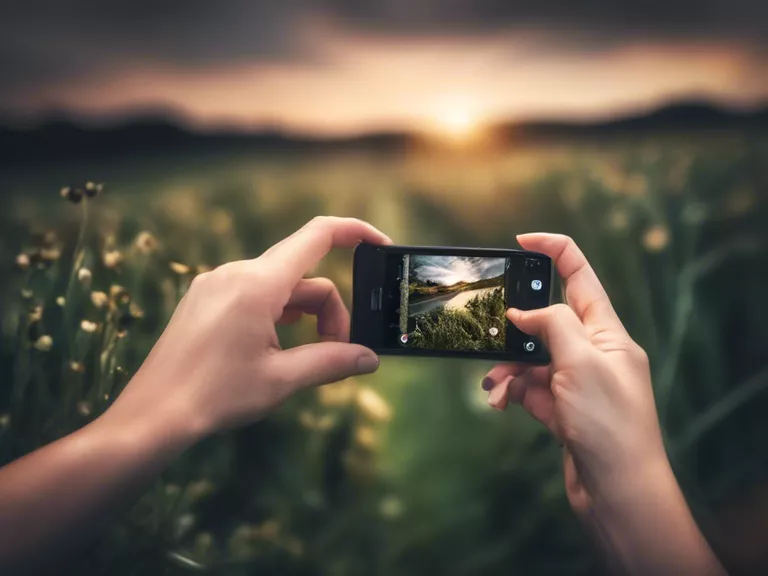
Look for light sources: When shooting in low light, look for any available light sources to illuminate your subject. This could be streetlights, candles, or even the glow of a smartphone screen. Position your subject near these light sources to create interesting and dynamic lighting effects.
Shoot in RAW: Shooting in RAW format gives you more flexibility when editing your photos in post-production. RAW files contain more image data than JPEGs, allowing you to adjust exposure, white balance, and other settings without losing image quality.
By following these tips and practicing your low-light photography skills, you can harness the beauty of dimly lit environments and create captivating images with any camera.


